
Upload the JavaScript (JS Files) to Google Code
GoogleCode.com is one of the best site that help bloggers to host their JS (Javascripts) files for free. This article explains about how to upload the JS files and using it to your blogger templates.
1. Sign in to your google account. I recommend with your gmail.com account. If you don't have one, please create it first.
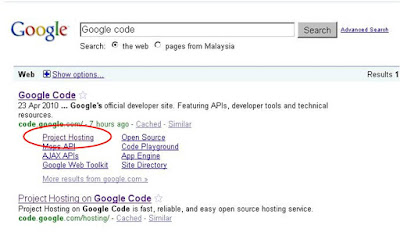
2. Find googlecode.com in your search engine
3. choose the googlecode's project hosting link
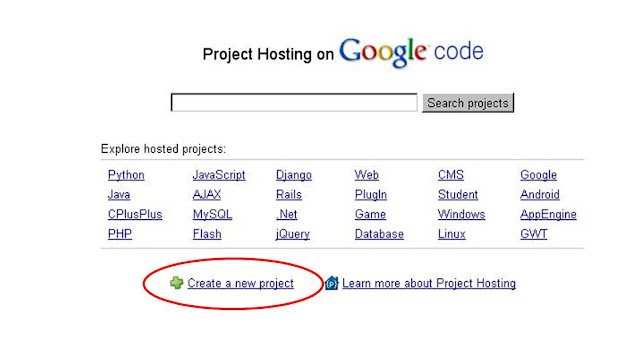
4. Create A New Project by click the new project link
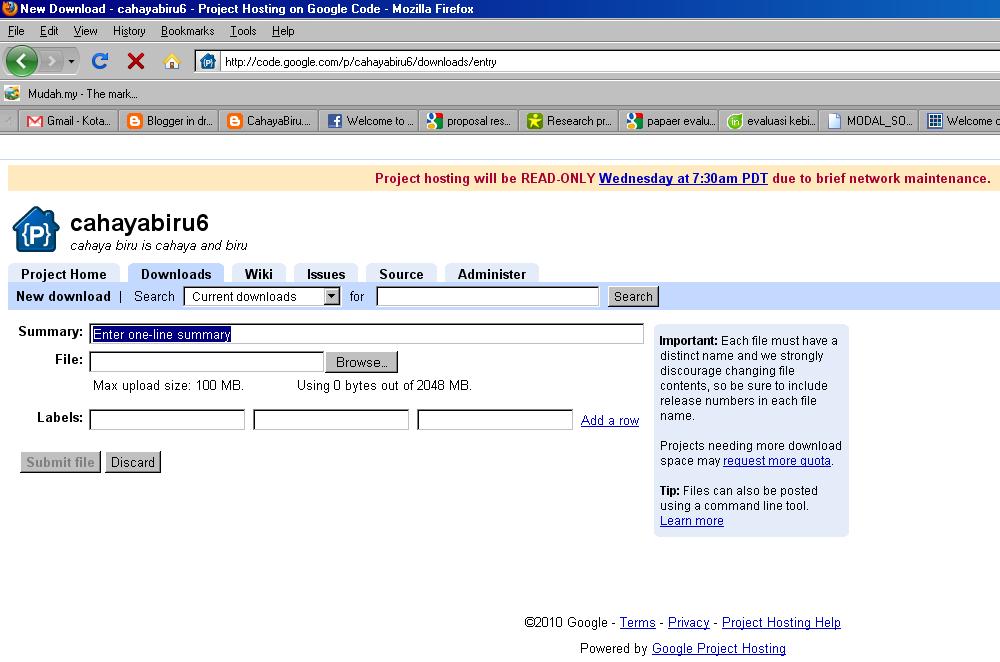
5. Fill all the form such as: project name, licences, labels and etc. And, Please choose any license. (Sorry, I don't give any specific information about every single license for you. If you want to know it, please find it in search engine by yourself). The form is just like the screen shot below :

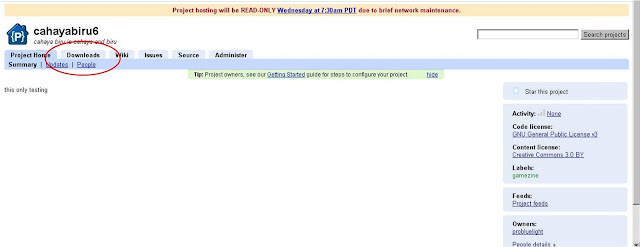
6. After you push the "Creating Project" button, you will be directed to the list page. Then click the Download Tabs. Please see the screen shot below.
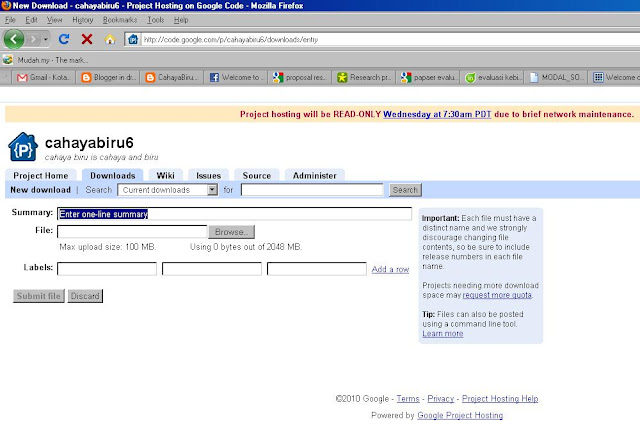
7. After click it. You will see the page below. Then, please click the button "New Download".
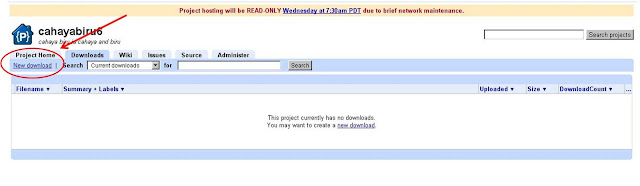
Even though it said new download, actually, that link is for upload the JS files. So, after you click it, then you can upload your JS files into the googlecode.com.
8. Fill the form such as summary, and label, and then Click Browse. Upload all your files. Please see below
9. After uploading, you will be given links. Put on your mouse pointer on the link. then copy its link location. Please see the screen shot below.
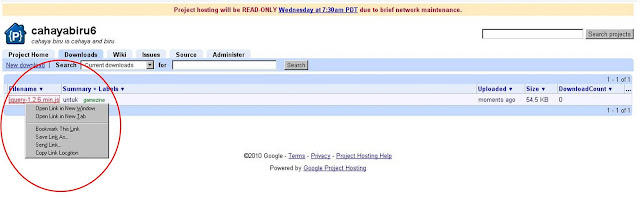
10. Great, you get the link location. How to use it ...?
Below is the HTML structure. Just change the red which say YOUR GOOGLE LINK LOCATION with your own link.
<script src='YOUR-GOOGLECODE-LINK-LOCATION' type='text/javascript'></script>
example:
<script src='http://cahayabiru6.googlecode.com/files/jquery-1.2.6.min.js' type='text/javascript'></script>
After that, Now you have to put it in the template.
In your template, please find :
]]></b:skin>
paste the code below ]]></b:skin> .
11. OK. You're done.
If you like my article, please feel free to subscribe to my feedburner email feeds. Thanks.
GoogleCode.com is one of the best site that help bloggers to host their JS (Javascripts) files for free. This article explains about how to upload the JS files and using it to your blogger templates.
1. Sign in to your google account. I recommend with your gmail.com account. If you don't have one, please create it first.
2. Find googlecode.com in your search engine
3. choose the googlecode's project hosting link

4. Create A New Project by click the new project link

5. Fill all the form such as: project name, licences, labels and etc. And, Please choose any license. (Sorry, I don't give any specific information about every single license for you. If you want to know it, please find it in search engine by yourself). The form is just like the screen shot below :

6. After you push the "Creating Project" button, you will be directed to the list page. Then click the Download Tabs. Please see the screen shot below.

7. After click it. You will see the page below. Then, please click the button "New Download".

Even though it said new download, actually, that link is for upload the JS files. So, after you click it, then you can upload your JS files into the googlecode.com.
8. Fill the form such as summary, and label, and then Click Browse. Upload all your files. Please see below
9. After uploading, you will be given links. Put on your mouse pointer on the link. then copy its link location. Please see the screen shot below.

10. Great, you get the link location. How to use it ...?
Below is the HTML structure. Just change the red which say YOUR GOOGLE LINK LOCATION with your own link.
<script src='YOUR-GOOGLECODE-LINK-LOCATION' type='text/javascript'></script>
example:
<script src='http://cahayabiru6.googlecode.com/files/jquery-1.2.6.min.js' type='text/javascript'></script>
After that, Now you have to put it in the template.
In your template, please find :
]]></b:skin>
paste the code below ]]></b:skin> .
11. OK. You're done.
If you like my article, please feel free to subscribe to my feedburner email feeds. Thanks.